
Installing
Install capabilities from a local directory, the registry, or the TUI capability manager.
Install a capability and the runtime picks up its agents, tools, skills, MCP servers, and workers on the next load. Three paths: a local directory you’re developing, a published registry version, or a click in the TUI.
# Local development — symlinks for live editingdn capability install ./capabilities/threat-hunting
# Published versiondn capability install acme/threat-hunting@0.1.0
Install from disk
Section titled “Install from disk”dn capability install ./path validates the manifest, then symlinks the source directory into ~/.dreadnode/capabilities/. Edits to the source appear on the next runtime reload — no re-install needed.
dn capability install ./capabilities/threat-huntingTwo flags change the default:
--copy— snapshot the source instead of symlinking. Use this when you want a frozen install that won’t follow source edits.--force— replace an existing install. Without it, re-runninginstallagainst the same name fails.
Browse the web catalog
Section titled “Browse the web catalog”The web app has a catalog at /capabilities — grid view for scanning, table view for sorting by version or author, and filters for author, keyword, and license.
Three tabs above the listing decide which capabilities you see, each with a count that reflects your active filters:
| Tab | Shows |
|---|---|
| Mine | Capabilities you created |
| Your organization | Every capability in the organization, whoever created it |
| Public | Public capabilities from every organization, including your own |
The middle tab carries your organization’s name and is the default. These are independent lenses, not a hierarchy — everything under Mine also sits under your organization, but your organization and Public overlap without either containing the other. Your org’s public capabilities appear under both; another org’s appear only under Public.
dn capability list --include-public is a different cut again: your organization’s capabilities plus every organization’s public ones. No CLI flag reproduces the Public tab on its own.
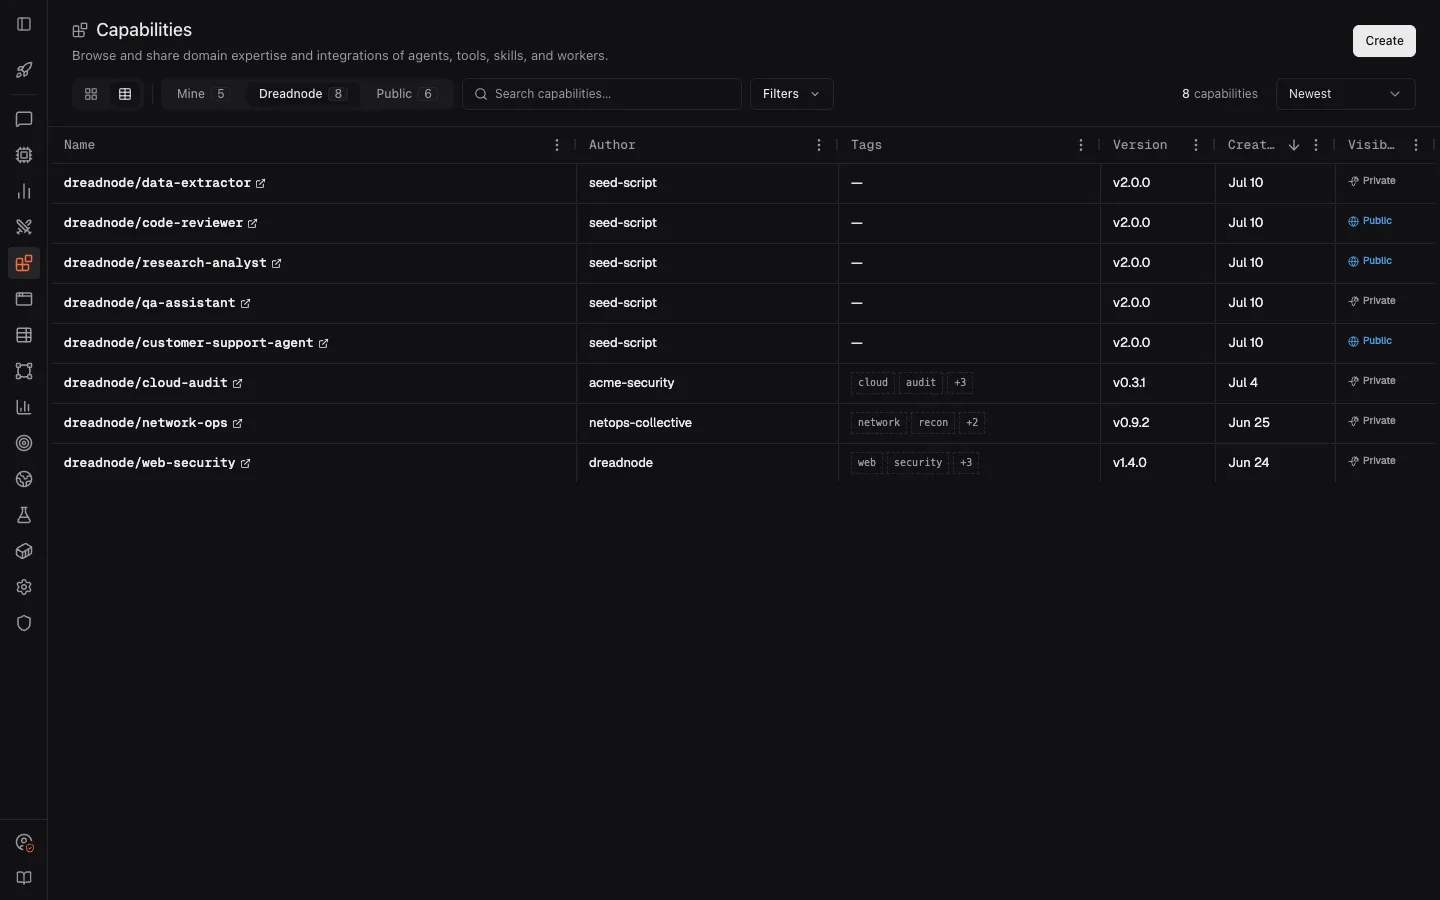
Click a card or table row outside its name to open a quick view with its description, metadata, component inventory, and usage instructions. Select the orange capability name, a component, or View full details to open the full capability page.
Copy the dn capability install command from the quick view, or paste the /capabilities → <name> path into an active TUI session.
Install from the registry
Section titled “Install from the registry”dn capability install acme/threat-hunting@0.1.0install downloads the bundle, validates it, and registers it for the active project. pull downloads without registering — useful when you want to read or fork the bundle.
dn capability pull acme/threat-hunting@0.1.0 --output ./forks/Install from the TUI
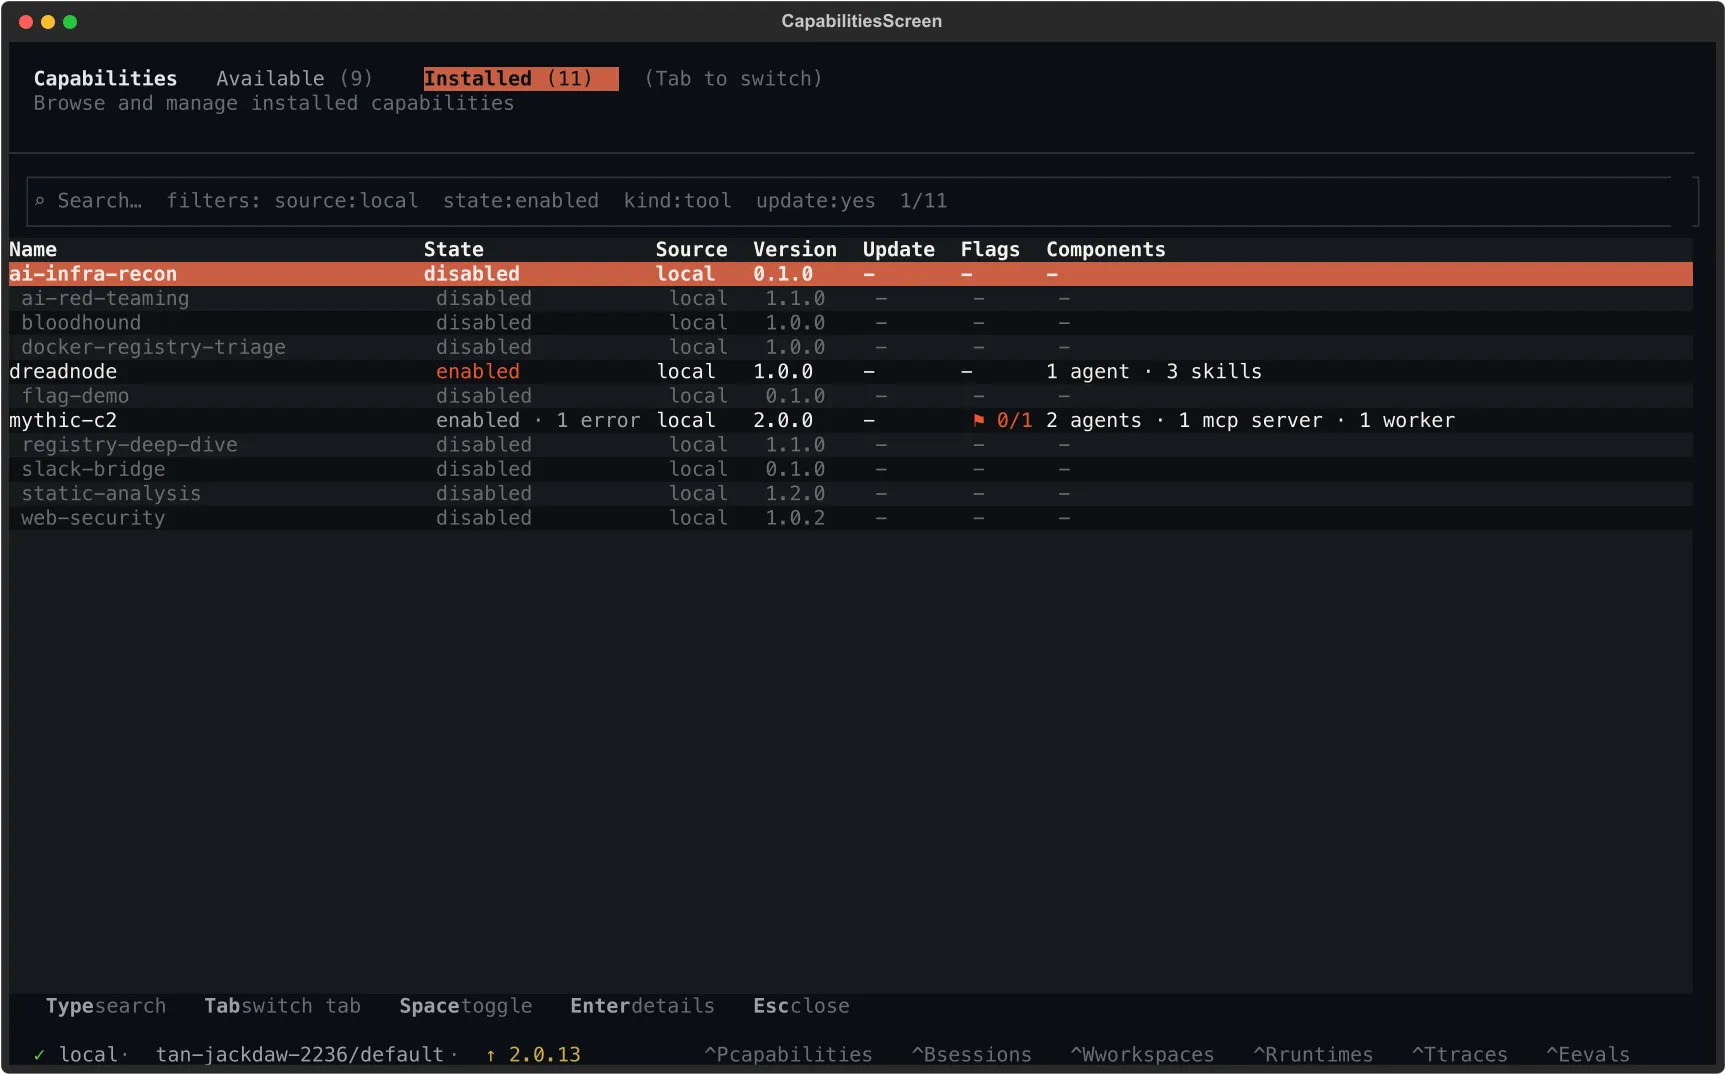
Section titled “Install from the TUI”dnPress Ctrl+P to open the capability manager.
- Installed tab — capabilities bound to the active project, with toggles to enable, disable, or edit flags
- Available tab — capabilities you can install from your org inventory and the public catalog
Tab over to Available to see what your org and the public catalog expose:
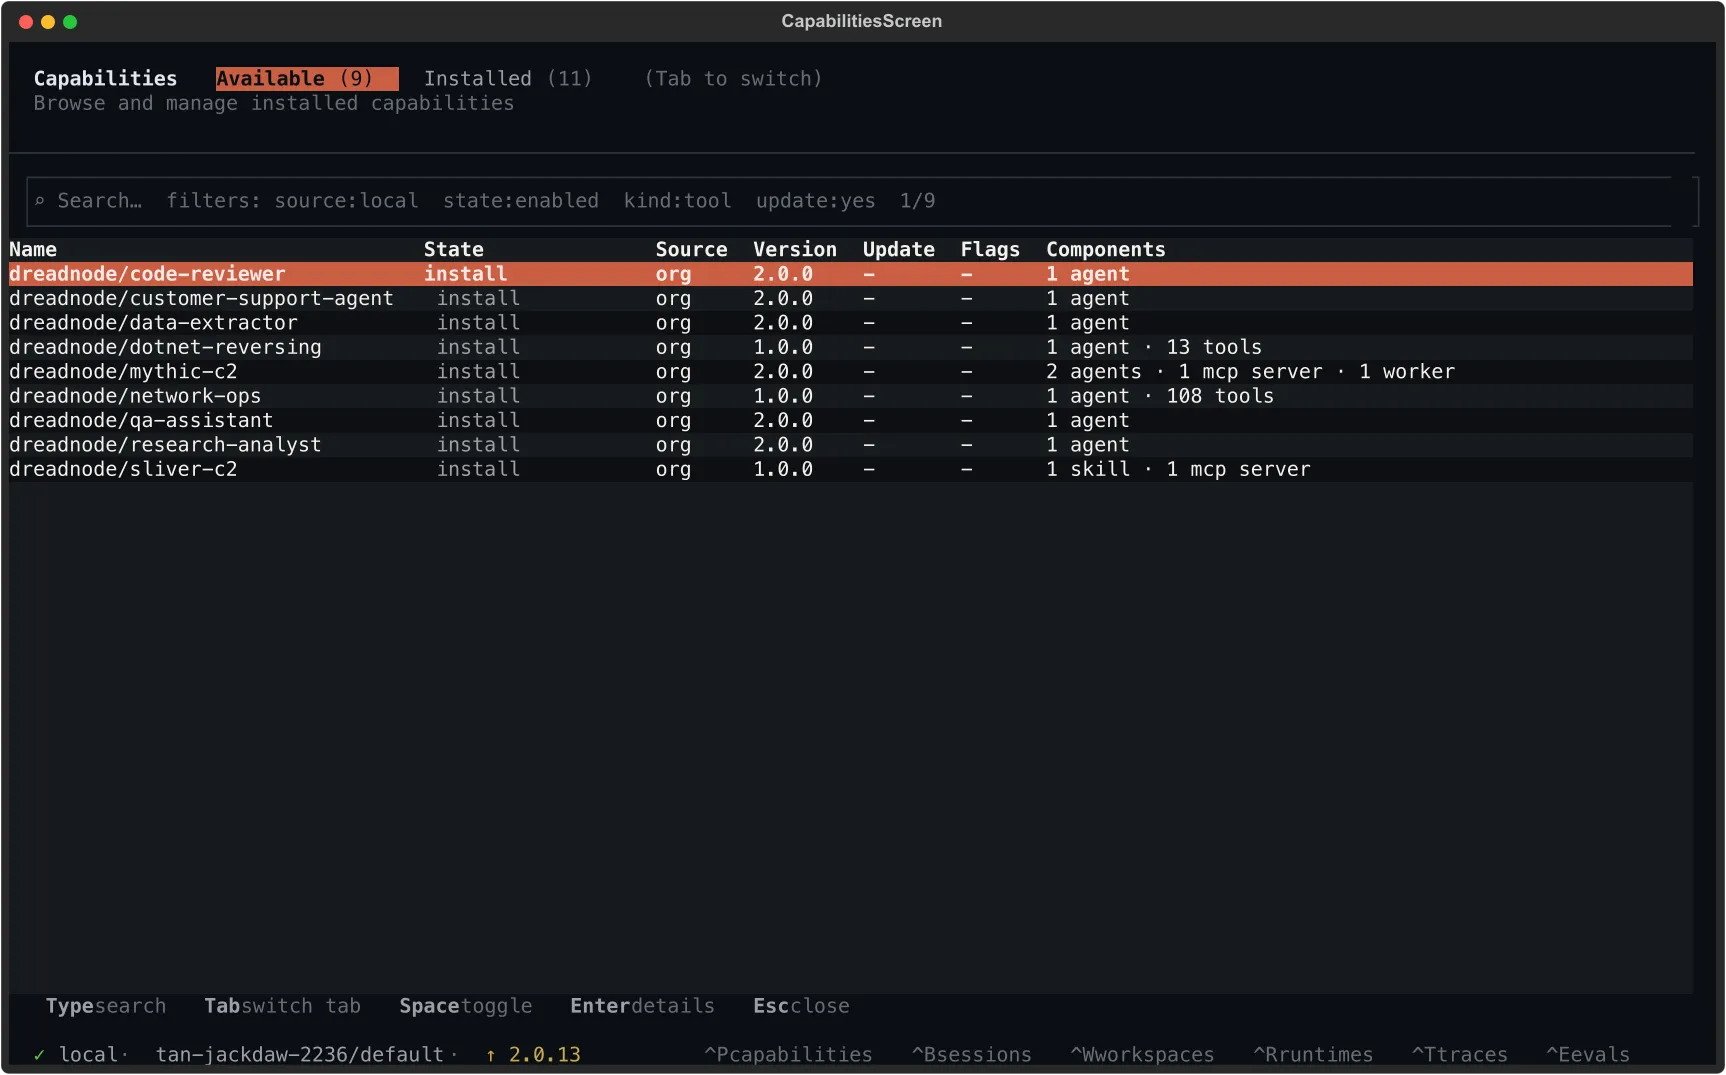
Select an available capability and press Enter to install. The manager runs the same validation path as the CLI.
For loading capabilities programmatically from Python, see the SDK overview and dreadnode.capabilities.
Where the runtime looks
Section titled “Where the runtime looks”A local runtime searches three sources in order; the first match on a given name wins:
- Project-local —
.dreadnode/capabilities/in the project root - User-local —
~/.dreadnode/capabilities/(whereinstallputs things) - Override — directories listed in
DREADNODE_CAPABILITY_DIRS(:on Unix,;on Windows)
A sandbox runtime loads only capabilities synced from your workspace — local directories are not consulted. Local and workspace sources never coexist on the same runtime, so there is no shadowing between them.
export DREADNODE_CAPABILITY_DIRS="/opt/capabilities:$HOME/dev/capabilities"dnEntries resolve to absolute paths and are searched after project-local and user-local directories.